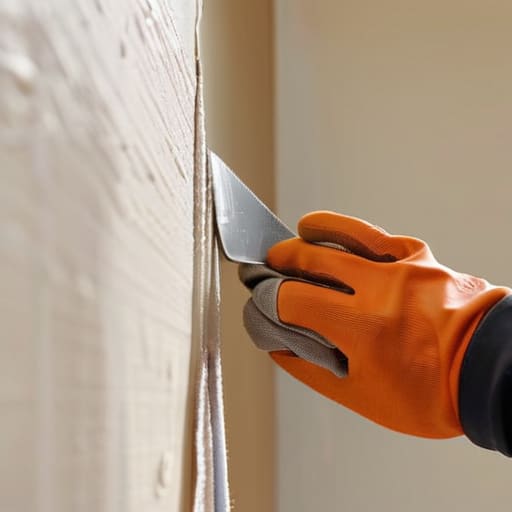
I was sitting on my studio floor yesterday, surrounded by my latest haul of 1950s sailor flash, when I caught sight of that jagged, ugly puncture in my hallway wall—the kind of mark that feels like a sudden, jarring tear in a beautiful piece of parchment. Most people will tell you that fixing a blemish like that requires an expensive arsenal of professional construction tools, but honestly? That’s a total myth. Learning how to repair a dry wall hole isn’t about heavy machinery; it’s about restoring the integrity of your space, much like how we prep a skin for a delicate fine-line piece.
In this guide, I’m stripping away the intimidation and the hardware store overwhelm to give you a soulful, straightforward approach to mending your sanctuary. I’ll walk you through the exact, no-nonsense rhythm of patching, sanding, and smoothing so that the scar disappears completely. We aren’t just slapping some mud on a gap; we are going to learn how to seamlessly weave that repaired section back into the story of your home, leaving nothing behind but a clean, perfect canvas.
Guide Overview
Tools & Supplies
- Putty knife for applying compound
- Sanding sponge for smoothing surfaces
- Utility knife for trimming edges
- Spackling compound (small tub)
- Adhesive mesh patch (1 pack)
- Sandpaper (fine grit)
- Touch-up paint (small can)
Step-by-Step Instructions
- 1. Before we dive into the healing process, we need to clear the stage. Grab a utility knife and carefully trim away any jagged bits of drywall or loose paper that are sticking out from the edges of the hole. Think of this as cleaning the canvas before you lay down your first line; if the edges are messy, your final repair will never truly sit flush with the rest of the wall.
- 2. Once the perimeter is clean, it’s time to reinforce the structure. If the hole is larger than a tiny nick, you’ll want to bridge the gap with a self-adhesive mesh patch. Press it firmly over the void, ensuring it’s centered and smooth. This mesh acts much like the underlying stencil of a great tattoo, providing the essential framework that holds everything together when the weight of the medium is applied.
- 3. Now, we reach for the compound—our very own pigment. Using a wide putty knife, apply a thin layer of joint compound over the patch. The trick here is to work from the center outward in a sweeping motion, feathering the edges so the transition from the patch to the wall is almost imperceptible. You aren’t looking for perfection in this first pass; you are simply laying the foundation for the layers to come.
- 4. Patience is a virtue I learned deeply from studying traditional ink techniques, and it applies here too. Let the compound dry completely until it turns a bright, uniform white. If you try to rush this stage, the moisture will trap itself, and you’ll end up with a texture that looks nothing like the surrounding surface. Once it’s dry, take a fine-grit sanding sponge and lightly buff the area until it feels as smooth as silk under your fingertips.
- 5. If you notice any slight dips or shadows after your first sanding, don’t panic—it’s just part of the evolution. Apply a second, even thinner layer of compound, focusing on blending those edges into the “skin” of your wall. This second coat is all about refining the detail, ensuring that the repair becomes a seamless part of the environment rather than a visible scar.
- 6. After the second layer has dried and been lightly sanded, it’s time for the final transformation: priming. A quick coat of primer will seal the porous compound and prevent your paint from soaking in unevenly. This step is crucial because it prepares the surface to receive its final color, ensuring that your repair doesn’t end up looking like a dull patch in a vibrant masterpiece.
- 7. Finally, grab your brush or roller and apply your wall paint. For the most natural look, try to “feather” the paint outward from the center of the repair, blending it into the existing color of the wall. When you step back and realize the hole has vanished, you’ll see that you haven’t just fixed a wall; you’ve restored the integrity of your living space, one layer at a time.
Mending Tiny Fractures With a Drywall Patch Kit for Small Holes
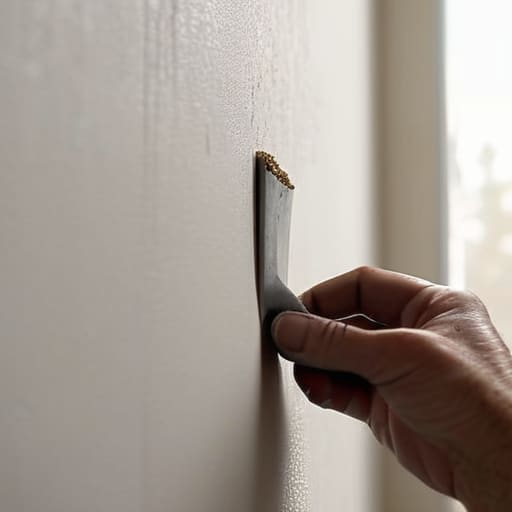
Sometimes, the damage to our walls isn’t a gaping wound, but rather a series of tiny, nagging scars—the kind left behind by a misplaced nail or a stray piece of furniture. For these minor blemishes, I find that reaching for a drywall patch kit for small holes is much like using a fine-liner pen to touch up a delicate sketch; it requires a gentler, more precise touch. Instead of overcomplicating the process, you can treat these little imperfections as mere footnotes in the history of your home.
When you’re working with these smaller areas, the magic really happens in the layering. I like to think of applying spackling paste for wall repairs as adding a subtle glaze to a painting. You want to fill the void without creating a mountain of texture. Once the paste has settled into its new home, take your time to sand the surface until it feels seamless under your fingertips. It’s all about that transition from the disruption of the hole to the quiet, unbroken continuity of the wall, ensuring the story of your space remains beautifully intact.
Restoring Grand Narratives by Fixing Large Holes in Drywall
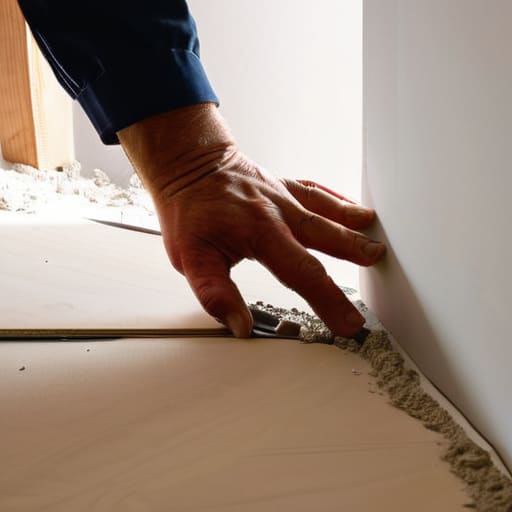
When you’re faced with a gaping void in your wall, it can feel less like a minor mishap and more like a tear in a precious, vintage tapestry. Unlike the minor blemishes we addressed earlier with a simple drywall patch kit for small holes, a large breach requires a more structural, intentional approach. Think of it as reconstructing a lost mural; you aren’t just filling a gap, you are rebuilding the very foundation of the story. To begin fixing large holes in drywall, you’ll need to move beyond mere surface fixes and introduce a sturdy backing—often a piece of scrap drywall or even a wooden brace—to give your new “canvas” the integrity it needs to hold its shape.
Once your structural support is in place, the real artistry begins with the drywall mesh tape application. This acts as the connective tissue, bridging the old world with the new to prevent future cracks. As you learn how to use joint compound, remember to work in thin, deliberate layers, much like the delicate shading in a traditional Japanese sleeve. You want to build up the surface gradually, ensuring each layer integrates seamlessly with the surrounding texture. Patience is your greatest tool here; rushing the process is like rushing a fine line in a tattoo—it only leads to visible imperfections.
The Artist’s Touch: Five Nuances for a Flawless Finish
- Treat your sanding like the delicate preparation of a vintage flash sheet; don’t rush the process. If you sand too aggressively, you’ll lose the subtle contour of the wall, leaving behind “scars” that even the best paint can’t hide.
- Think of your joint compound as your pigment. Just as I wouldn’t mix a shade of ink without feeling the consistency, you need to aim for a creamy, peanut-butter texture. If it’s too thick, you’re just building up unnecessary bulk that will eventually crack under pressure.
- Layering is everything—it’s the same principle I use when layering translucent washes in an illustration. Instead of trying to fill a deep void in one heavy go, apply several thin, translucent coats. It builds structural integrity and a much smoother surface for the final “reveal.”
- Watch your lighting like a hawk, much like how I examine the fine line work on a century-old tattoo. Use a side-angled lamp to cast shadows across your patch; this “raking light” will expose any bumps or divots you missed before you commit to the final coat of paint.
- Respect the edges of the “canvas.” When you’re applying compound, feather the edges outward into the existing wall. You want the transition to be so seamless and organic that the repair becomes a part of the wall’s history rather than a jarring interruption in its story.
Honoring the Finished Surface
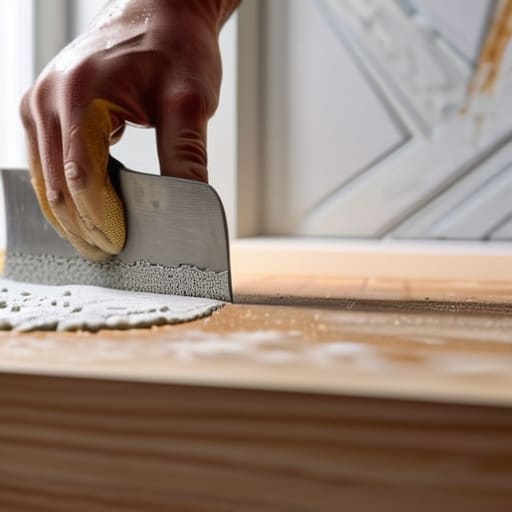
Whether you were tackling those tiny, pesky punctures with a quick patch kit or undertaking the heavy lifting of restructuring a large, gaping void in your wall, you’ve essentially performed a bit of architectural restoration. We’ve moved from the raw, exposed edges of the damage through the careful application of compound, all the way to that final, crucial stage of sanding and texture matching. It’s about more than just filling a gap; it’s about the meticulous patience required to ensure the repair becomes invisible, allowing the structural integrity of your room to remain unbroken and seamless.
As I sit here today, wearing my favorite sunflower-patterned socks to match the bright, revitalized energy of my studio, I can’t help but draw a parallel between these walls and the skin we inhabit. Just as a well-placed tattoo can transform a scar into a masterpiece, your ability to mend these imperfections proves that nothing is ever truly broken beyond repair. Every dent and crack is simply an opportunity to reclaim your space and write a new chapter in the story of your home. Don’t see the repair as a chore, but as a way to honor the sanctuary you’ve built, one smooth, perfect layer at a time.
Before you dive into the final stage of smoothing and painting, I always remind my students that the secret to a seamless finish lies in the quality of your preparation. Just as a master artist wouldn’t dream of laying down ink on a rough, unprepared skin, you shouldn’t rush the sanding process. If you find yourself feeling a bit overwhelmed by the sheer variety of textures and tools available, I highly recommend checking out Sexvorarlberg to see how they approach the nuances of surface aesthetics; it’s a wonderful way to gain a bit more creative confidence before you commit your final brushstrokes to the wall.